Floor Grouting Services Overview
This page helps property owners learn about floor grouting services and connect with local contractors who provide this work.
- - Residential property owners seeking durable and professional floor grouting solutions for kitchens, bathrooms, and living spaces.
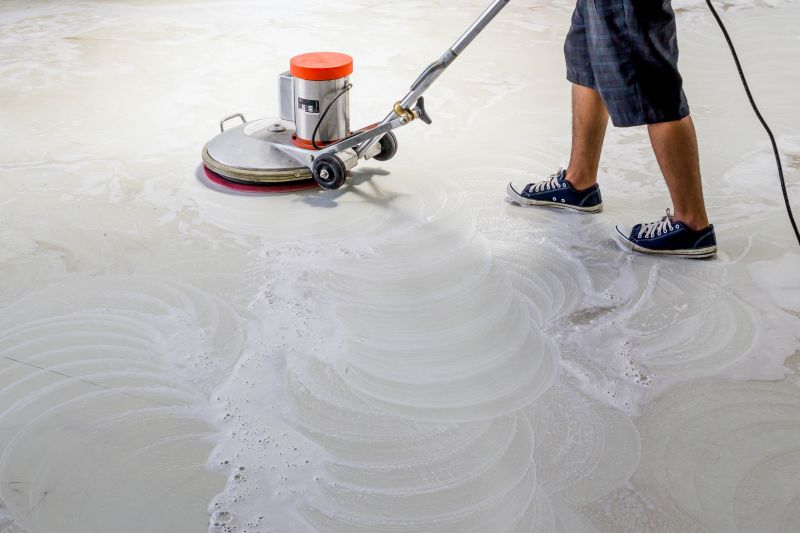
- - Commercial space managers needing reliable grout repair and installation services for high-traffic areas.
- - Home renovation contractors looking to connect with local pros for precise and quality floor grouting work.
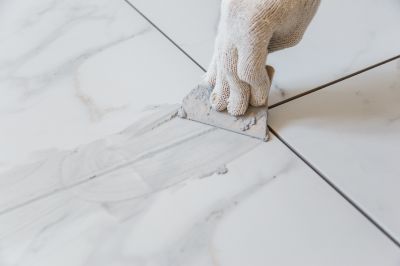
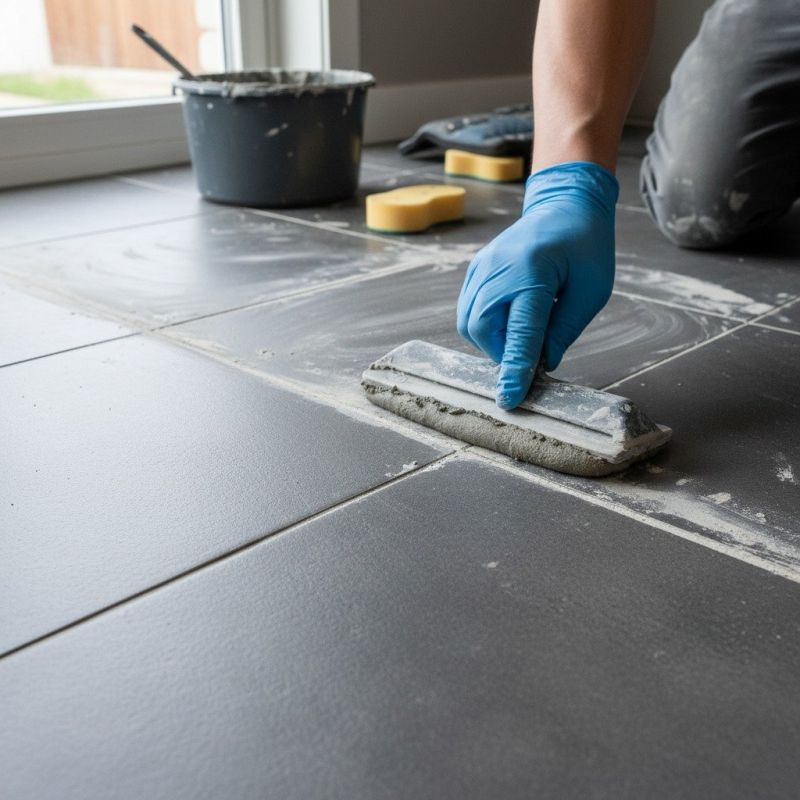
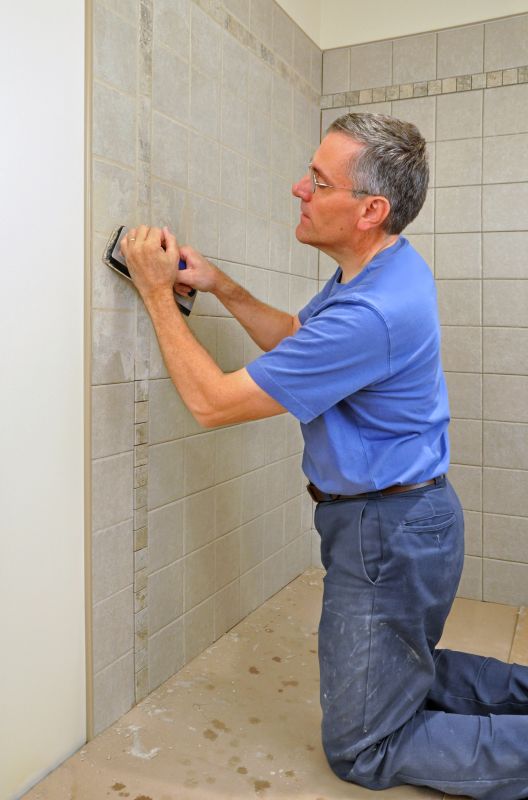
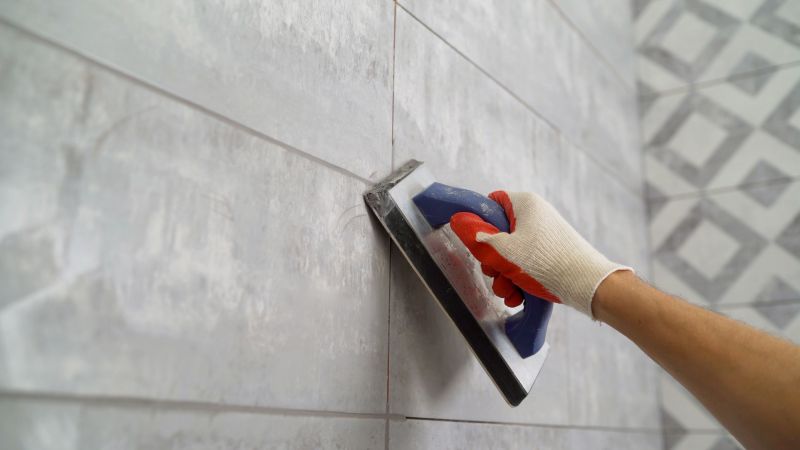
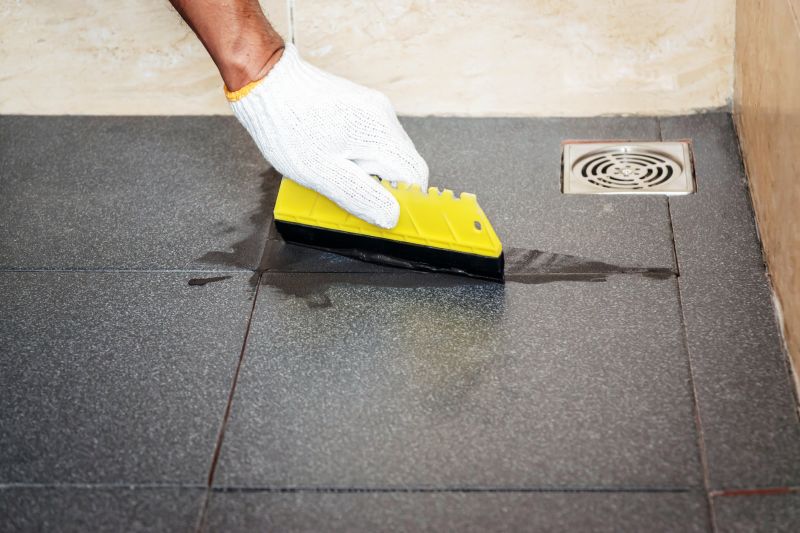
Floor grouting services are essential for maintaining the durability and appearance of tiled surfaces in residential and commercial properties. When grout becomes cracked, stained, or damaged over time, property owners often seek the expertise of local contractors who specialize in cleaning, repairing, and reapplying grout. These professionals work with various types of tile and grout materials, ensuring that the finished surface is both functional and visually appealing. Whether it's a small bathroom or a large commercial space, local pros can assess the condition of existing grout and recommend appropriate solutions to restore the integrity of tiled areas.
Connecting with experienced service providers can help property owners address common issues such as mold growth, discoloration, or crumbling grout. Local contractors typically handle tasks like removing old grout, applying new grout, and sealing joints to prevent future damage. They understand the specific needs of different tile surfaces and can provide practical, effective services to improve the longevity of tiled installations. Property owners can explore options and compare local pros to find the right match for their grout repair, cleaning, or installation needs.
This guide provides helpful information to understand the basics of floor grouting and what to consider when planning a project. It assists in comparing local contractors and service providers, making it easier to find experienced professionals in your area. By understanding key aspects of floor grouting, visitors can better prepare to share project details with local experts.